Wednesday, October 17, 2012

How To: Yarn Wreath

I found a yarn wreath on Pinterest that I really liked and decided I would make it for my baby girl's nursery to put over her crib. I loved the soft colors and that it's not too bright.


I've never made one before so for starters I looked up a few "how tos" online. The wreath itself seemed simple enough but I had never made felt flowers before. There's so many different kinds of flowers you can make with felt (as you will find when you google how to make felt flowers). I decided to stick to the easier looking ones which happened to be roses, and that's what I needed anyways to copy my "Pinterest inspiration". I bought the list of items I needed at Hobby Lobby and Michaels. Michaels had more felt color options.

You will need the following:
some type of wreath
felt
glue gun
glue sticks
yarn

If you buy the wreath that I did (pictured) I would recommend leaving the plastic on otherwise it gets a little messy.


To start with glue the end of your yarn to the back of the wreath...then start wrapping. This was the hardest part of the whole process because it takes FOREVER to wrap the yarn allllllll the way around the entire wreath. Then your arm starts to hurt from doing the same motion over and over again for hours. Every once in awhile glue down a piece of yarn and then....continue wrapping. 


Yay!!! It's finally complete! I honestly never thought it would happen...(looks like the picture frame I made for my nephew snuck into the photo)


Ok now that the hard part is over it's time to start making the felt flowers.

You start by cutting a spiral circle.


Then you twist it around and glue as you go. You can make the petals bigger or smaller depending on where you glue and how thick you cut the circle. 


Done! I bent a few petals back and glued them down to achieve the look I wanted.


I cut out some green leaves and glued them down first. Then I glued the flowers down. You're done!


Finished wreath over the crib. I put an "A" for Alice in the middle. 


Thursday, October 11, 2012

Nursery on a Budget!

 Yeah so I think my blog has accumulated dust since the last time I've been on it... I am now 9 months pregnant and ready to pop! My nursery is basically finished after months of planning and getting it ready..."sigh of relief". My husband and I are on a strict budget because we're trying to get as much of our debt paid off as possible before baby boo gets here. I knew that if I wanted the nursery I was imagining it was going to take some work!

To begin with I looked for some inspiration. After lots of searching on Google for a "soft romantic vintage" nursery I found this one and really liked the feel of it. I thought the beige walls with the pale pink ceiling was super cute and not too loud. I didn't want anything bright to where I got a headache as soon as I walked in.


Ok so now I have my inspiration, it's time to get going! Yeahhh if only I could get my husband as inspired....that's why I like to do everything myself because it gets done! But alas...I didn't need to be breathing in a lot of paint fumes being pregnant. Finally I set aside a weekend where I told him he WAS going to paint and to ask his friends to help him if he needed it.

Before.


Boys hard at work.


After! I also had my husband put in a new white ceiling fan. Cost for paint and fan was around $100ish.


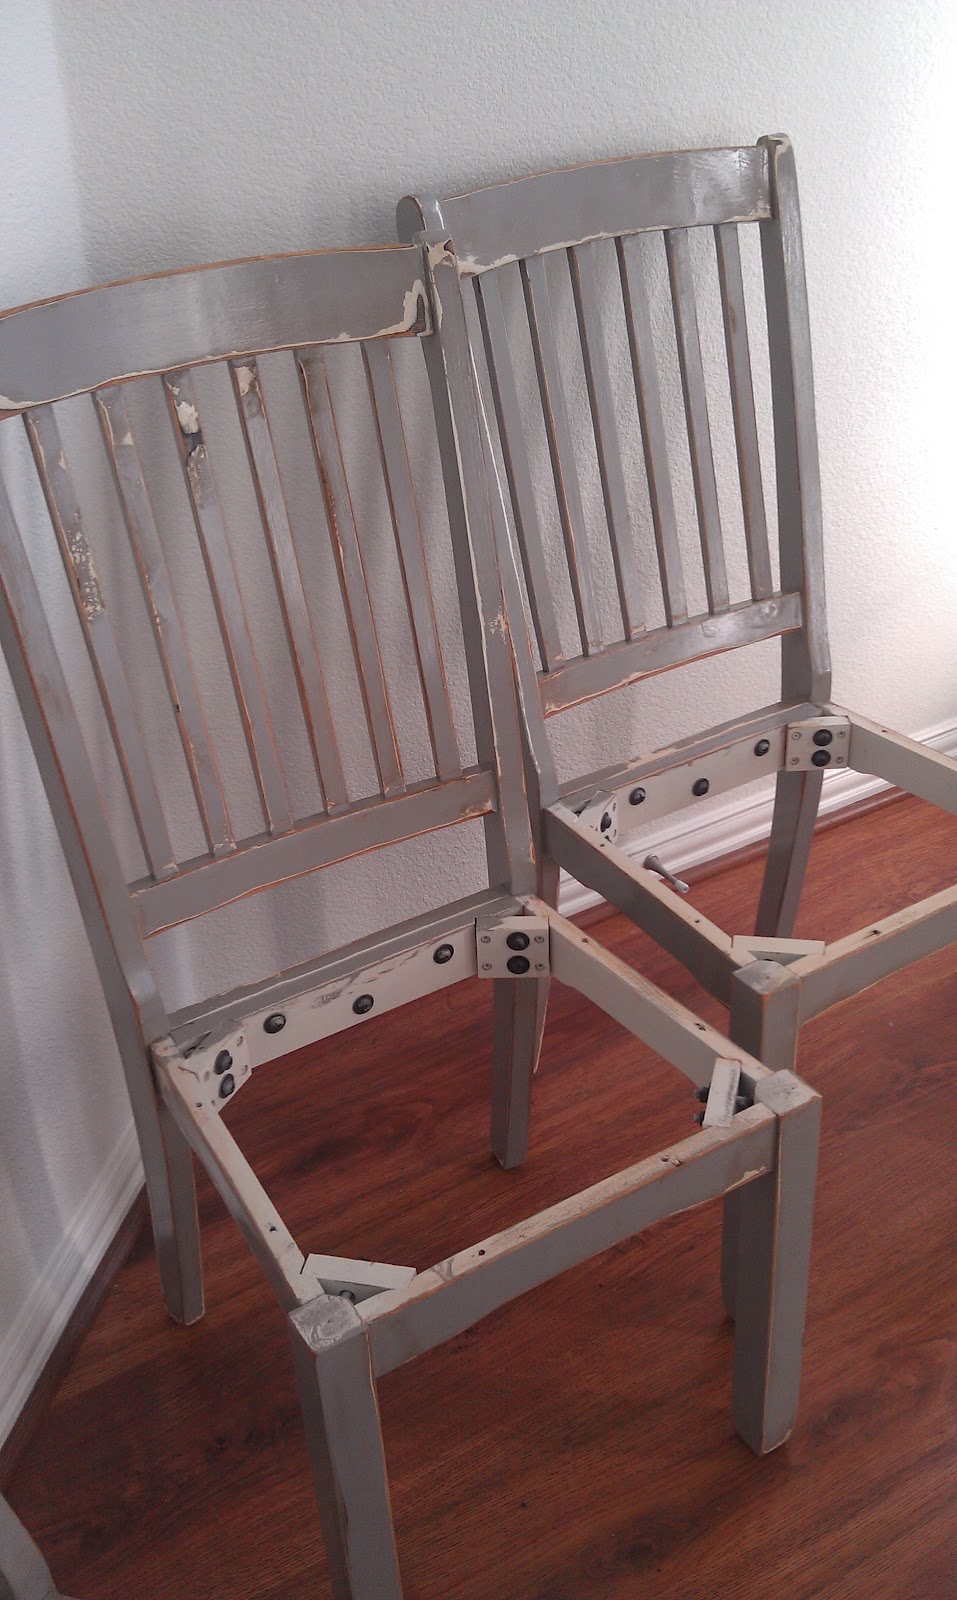
Now the nursery if finally painted after much nagging and many emotional breakdowns of "it's never going to get done!" Next on the list is furniture. Baby furniture is dang expensive as many of you know if you have purchased it before. I am a Craigslist believer so that's the first place I turned to...and for good reason because I got an awesome deal! I was able to purchase a crib, mattress, waterproof mattress cover, diaper changer, diaper changer pad, diaper changer pad cover, and a diaper/wipes holder for the low low price of only $150! The furniture looks practically brand new too.

Here is my very wonderful husband putting it together for me.


As you saw in my inspiration photo there was an upholstered glider. I REALLY liked the look of it because you couldn't tell it was a glider it just looked like a normal upholstered chair. Problem: the upholstered gliders cost around $700 brand new...bummer. Where do I turn to yet again? Craigslist. I found the EXACT glider that I was looking for, exact color, exact fabric...everything. How much? Only $150! AND it's in great condition as well. I made my husband drive 45 minutes to pick it up at 8 o'clock at night haha. He loves me.

(I decided to switch the crib and diaper changer)

So yay! I got all of my main furniture pieces for a total of only $300 bucks. Can't beat that! I also wanted to find a bookshelf/dresser to have some storage space and a place to put books. I was able to find this on Craigslist for $40 and it had both things that I needed! I forgot to take a before pic...lets just say it was ugly with ugly blue flowers on it...

I painted it white with a pink backsplash that matches the ceiling. I then bought pink drawer handles from Hobby Lobby for $2/each. (drawer handles not pictured)


Ok for the rug. I LOVED the rug in the inspiration photo but it cost around $400 to purchase :( I then decided that I wanted a braided rug...which are also rather expensive. BUT I remembered I had a braided rug that I bought from Big Lots about 2 years ago. I decided that one would work just fine and took it to a washeteria to get it nice and clean. It's finally coming together!


Next up is decoration. I went to Michaels and found some really pretty pastel floral scrap book paper and decided to make picture frames with it. Not expensive at all. Scrap book paper was like .99c each and the picture frames were a couple bucks. I had some buttons and decided to hot glue them on the frame to look like flowers over felt leaves.


I also decided to copy a yarn wreath that I found on Pinterest. The next blog will be about how I made it.

(Pinterest inspiration)

(My wreath) I also bought a shelf from Hobby Lobby, painted it white, and hung the wreath from a drawer pull. I put a white letter A in the middle for "Alice".


I decided not to buy baby bedding. Mostly because I hated everything I saw and what I did like was way too expensive. It sucks to have expensive taste when you're on a budget. I decided to just buy a crib skirt off of Etsy (this way I could pick which fabric I wanted) and then bought a crib sheet from Babies R Us for $10 bucks. The crib skirt was $65 and I bought an additional yard of each fabric so I could make a few things that coordinated. (Crib sheet not pictured)


FINALLY after lots of blood, sweat, and tears we have our finished nursery.


(Photo board I made from coordinating fabric) 

So what's the total cost of this nursery??? The finished product was around $650 bucks. Now all it needs is a baby :)

P.S. Here's a few pictures of some super cute things my friends bought/made me:


Tuesday, May 1, 2012

Dining Room: Re-upholstery

Ok so I know it's been awhile since my last post. I was sick for all of March and most of April thanks to "all day sickness" Morning sickness is hardly the word to explain it. Anywho I started working on my dining room in February and have just now gotten around to finishing up the furniture I currently have for it.


First off I started with a dining room table that I had gotten off of Craigslist for $75 (seats 8). I forgot to take the before picture :( but it was white and the table top was a very light tan that needed desperate sanding. My dining room is pretty large and I needed something to fill the space. I decided to paint it a light grey with antique touches (sanded edges) and stained the top an antique walnut. The 6 chairs I bought came with another table (used as my craft table) and I sanded them and painted them to match this one. I got the chairs and table set for $75 as well off of Craigslist.


For the chairs I started by lightly sanding over the white (didn't need a lot) then painted 3 coats of grey on each chair.


Next I sanded the edges to give it an antique feel, the same as I did with the dining room table.


Next I sprayed a sealant on all of the chairs to protect the paint from chipping. It was a spray paint sealant that you can buy from Home Depot for a couple of bucks. MUCH easier than painting on a coat of it.


Now it's time for re-upholstery. The seat cushions were old and torn and really needed to be replaced. 


You start by removing the old fabric; typically removing staples. These chairs also had a backing that needed to be removed. I used a flat head screw driver and a pair of pliars to remove the staples.


Next find a fabric that you like. Some upholstery fabrics can be pretty expensive, I found this one in the $5.99/yard bin. That's pretty much the reason I bought it. I ended up finding another fabric I liked better from Ikea for $8.99/yard...so I re-did the seats all over again. Be careful of re-upholster's remoarse! = waisted time. A good place to find affordable fabrics is Hancock Fabrics. You can find locations online.


This is basically a look at the seats after the fabric has been removed and the tools you'll need to re-upholster them. I bought a staple gun from Home Depot for a reasonable price, you'll need the correct staples that go with the gun, scissors and if you want you can use a yard stick (I didn't use one). Instead of measuring out the fabric I just used the old fabric that I took off the seat as a template and cut around it.


Ok so once you have your fabric cut out you start stapling it to the wood board under the cushion of the seat. I couldn't get all of the staples out of the seat so I ended up just cutting the old fabric out with a utility knife, hence the reason you still see a strip of it with staples. After doing several of the seats I learned it's best to staple the corners last. REMEMBER to pull the fabric really tight as well. Otherwise you will have wrinkles.


After the fabric has been stapled you add the backing over it by stapling it as well.


Done!


Finished chairs and table.


But as I stated before I ended up finding a fabric that I liked better.......


So I re-upholstered the chairs all over again.


Tada! FINALLY finished with the table and chairs.


And decorated! The blue bins behind the table are filled with dishes that need a china cabinet home! SO next stop is finding a china cabinet as well as a buffet to add to the dining room. Hopefully I'll have the energy!


Curtains are hung too! Also from Ikea for $9.99 and comes with TWO panels...crazy cheap for curtains. Looks like P.S. the cute little dog at the bottom is my bulldog Sammy.


Finished! For now atleast...